If your furnace is blowing cool air, you are likely dealing with an extinguished pilot light. Although this can be quite frustrating, it is not an uncommon occurrence. This is something we see happening often in the HVAC industry. Sometimes, uninvited drafts are the leading cause of why pilot lights are blown out. Another potential cause is also component-related issues. But regardless of the reason, here you are stuck with a pilot light that needs to be relit in order to get your heat back up and running. The good news is that your Five Star Heating & Cooling Group service experts are here to light the way! So, continue reading for a simplified step-by-step instructional guide.
WHAT IS THE STEP-BY-STEP PROCESS TO RELIGHTING A FURNACE’S PILOT LIGHT?
Rest easy. Relighting a pilot light is not all that complicated. When you take it one step at a time, you’ll find that these steps from your favorite Five Star service professionals will prove to be a breeze.
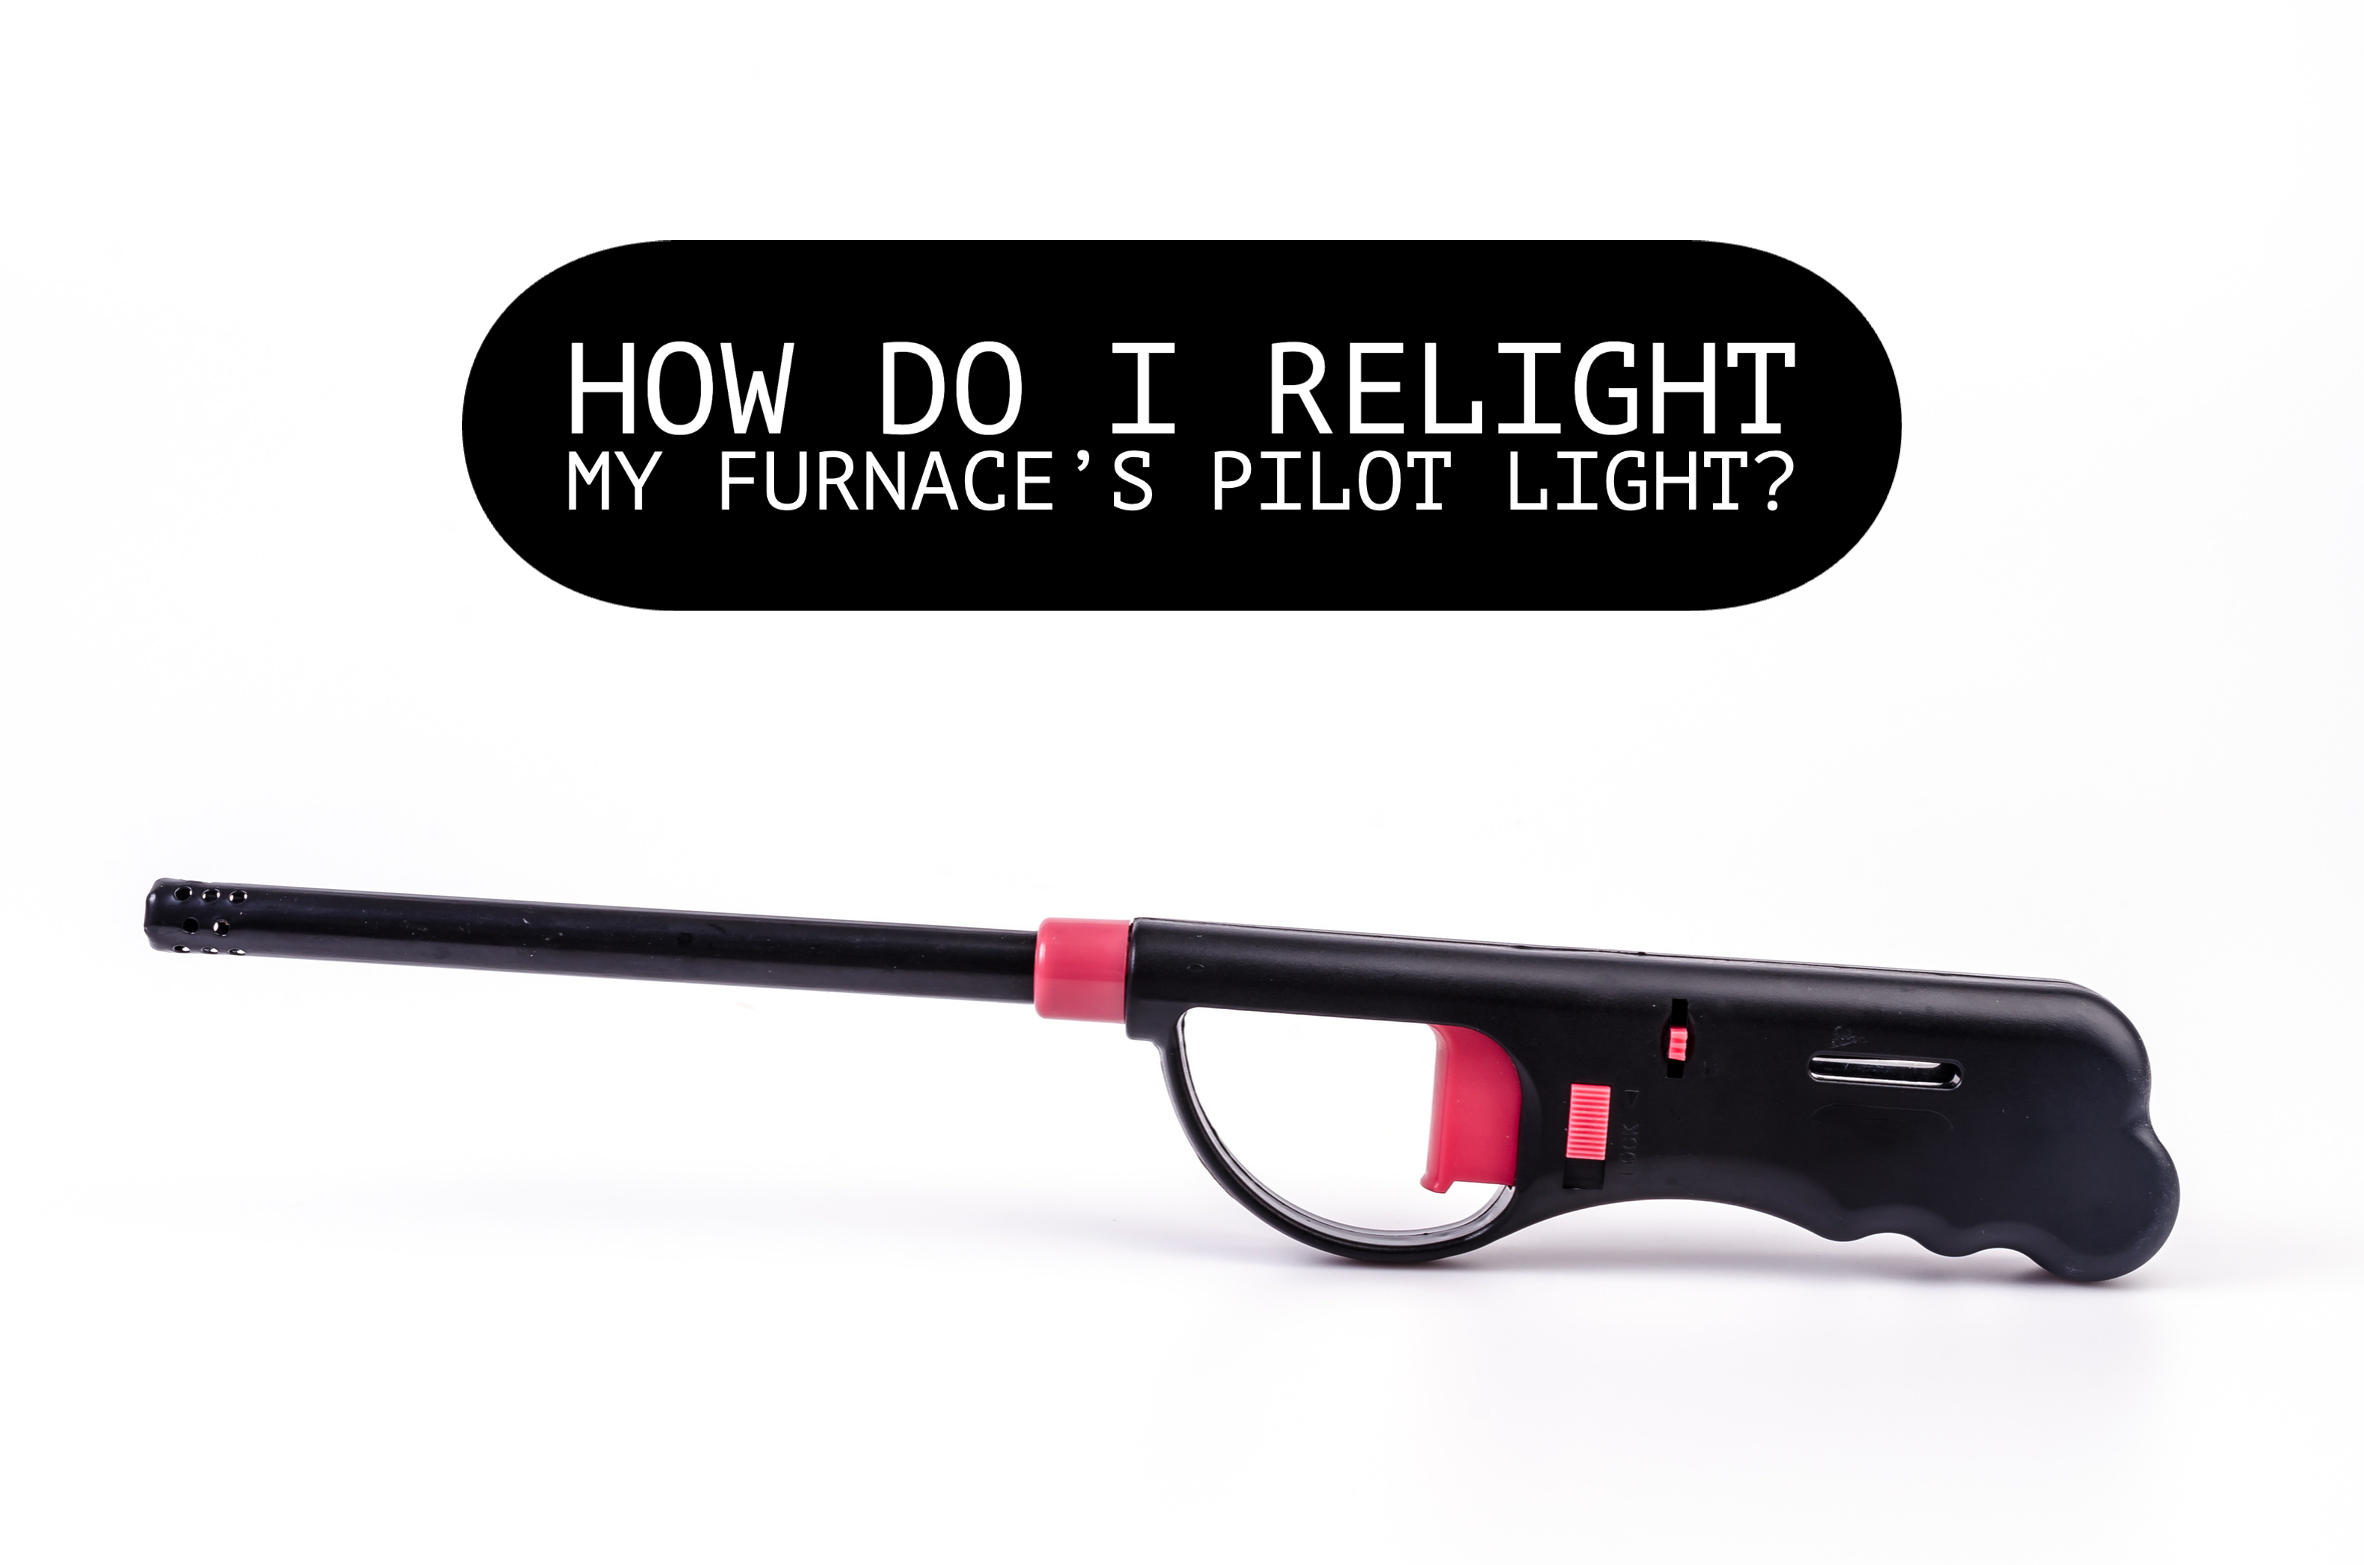
STEP 1: You should always refer to the manufacturer’s instructions when possible. Luckily, yours should be located on your heating unit’s side. These instructions are straight from the equipment manufacturer and are designed for your specific furnace model. However, we realize there are situations where some furnaces are positioned in a tight or dark space where reading instructions off the side of a unit may not be very attainable. So, if this is the case for you, please refer to the general steps provided below. Furthermore, before starting the whole relighting process, take note that you will need something to like your pilot light – like a long-reaching lighter or matchstick that can sufficiently reach the pilot light burner.
STEP 2: If your furnace has one, you will need to remove the burner cover first. This is the metal faceplate that covers and protects the opening of your pilot light.
STEP 3: After the burner cover has been removed, look for the furnace power switch. Generally, these are located at the bottom of your furnace. When you find it, go ahead and turn it off.
STEP 4: As always, when dealing with gas-related equipment, it’s always best to turn off the gas supply. So, before continuing with the relighting process, locate the gas valve and turn it off accordingly. Once you have shut off the gas supply, it’s CRUCIAL that you wait for a minimum of five minutes before proceeding to the next steps. Doing this allows the gas enough time to dissipate. Otherwise, you could end up risking harm to yourself, your family, and your home.
STEP 5: In the meantime, while you wait for five minutes to pass, you can utilize this time to locate the pilot light assembly. Glance over the area, looking for a knob-like switch with the words “pilot, reset, or on/off” labeled on it. Just keep in mind that wording may vary depending on your furnace model.
STEP 6: After a minimum of five minutes have passed, the next step is to turn the knob to “pilot.” Then press and hold the “reset” switch/button while simultaneously bringing your ignited lighter near the pilot light’s burner at the same time. When you are in close enough proximity, the pilot light will spark and ignite. When you see this occur, let go of the “reset” switch. Fingers crossed, the pilot light stays lit. Otherwise, you may be dealing with malfunctioning components.
However, if your pilot does, in fact, remain lit, congratulations! You have successfully learned how to relight your pilot light. If that doesn’t deserve a round of applause, then we don’t know what does! Knowing how to relight your pilot light is a worthy homeowner’s skill, in our opinion.
STEP 7: After you have confirmed that your pilot light is functioning fine and the flame remains ablaze, go ahead and turn the gas valve back to the “on” position.
STEP 8: Last of all, if you did have to remove a burner cover to gain access to the pilot light, be sure to return it back to its original place!
If the pilot light does not remain lit upon release of the “reset” switch, don’t hesitate to give Five Star Heating & Cooling Group a call. We will send out one of our NATE-certified technicians to your home as soon as we can.
We will most assuredly get your heat back up and running in no time. Call us today at (614) 490-7550, or schedule an appointment online now by clicking here!


